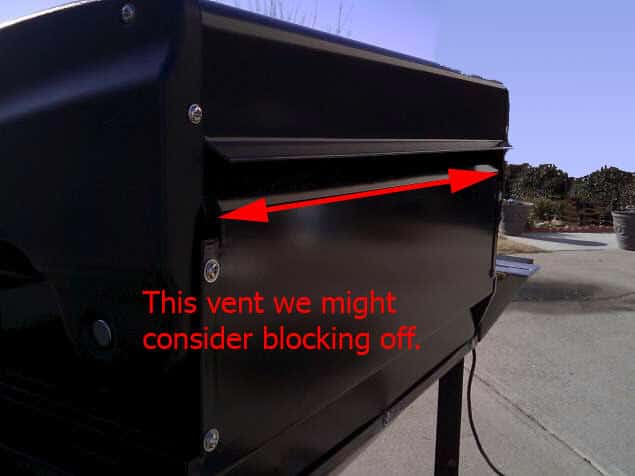
When you’re roasting coffee for profit, a penny saved is a penny earned. So, if we can make the roasting machine require less propane per roast, we can increase our profitability. One way to make the machine more efficient is to reduce the amount of propane required per roast by blocking the rear vent. The modification allows less heat to escape during the roast, and is similar to keeping the windows and doors of your home closed, so that it doesn’t cost so much to heat or cool your home. The rear vent in a grill lets out quite a bit of heat, so by blocking it, we can make a big difference in how long a propane tank will last.
While the savings you realize will vary with every setup, they can be substantial. As an example, after completing my first 6 LB assembly, I noticed that I had to run the burners at 100% to maintain the temperature necessary to finish the roast on time. After blocking the rear vent, I was able to maintain the same temperature at only 40% gas. That translates to 60% more roasts on each tank. That is HUGE. Similarly, on this model, used for illustrations. 100% gas resulted in 550°F inside the roast chamber, and after the mod, I achieved 600°F at 33% gas. So the efficiency increase is, well, astronomical.
Granted, everyone has a different way of doing things, someone out there will tell you that not venting the heat/smoke/moisture as quickly will change your roast. Perhaps, do what you like, that’s why coffee is such an art, a million ways to do anything. However, my costs have dropped tremendously and not one complaint from one customer. So these are the mods we have done, others will have other mods. Share yours in the forum! Try these if you want to! With that aside, lets get on to “Fun with Sheet Metal”.
Sheet Metal will cut you open in a flat second. Use gloves and be aware that it will get you. I know better, I’ve done it many times, I’m experienced in Aircraft repair and construction with sheet metal, aluminum. I told myself, “Be careful, you could get cut”. Guess what, yep, I got cut….during the assembly of this nice machine. Be careful, don’t work aggressively with this stuff, you push or shove and slip, you’ll be getting stitches. Be firm, gentle, careful, plan your actions and movements and don’t swing or hammer wildly at this stuff, you slip and it gets you.
The vents in the grill are designed to keep the grill at a safe operating temperature. By installing this heat shield and restricting the vent, it is possible to overheat the entire grill by turning the burners up too high for an extended period of time. If you choose to install this heat shield to restrict heat flow, you will need to monitor the temperature of your grill as you are using it. The purpose of this modification is to reduce the amount of fuel that is required to maintain a given temperature on your grill. Therefore, you should be able to roast your coffee with the burners at a much lower setting. Do not turn your burners on high and go and do something else. We don’t want any fires.
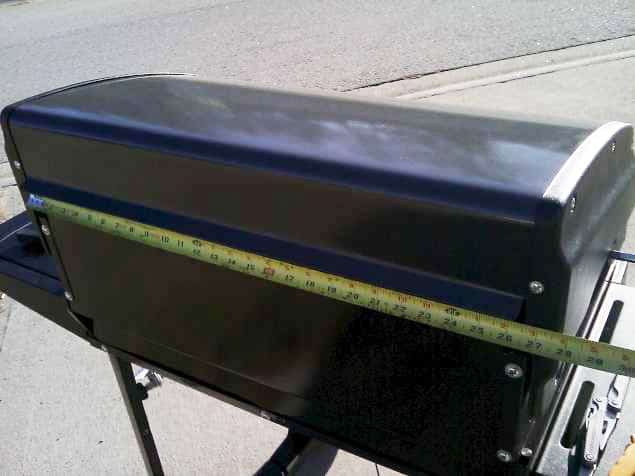
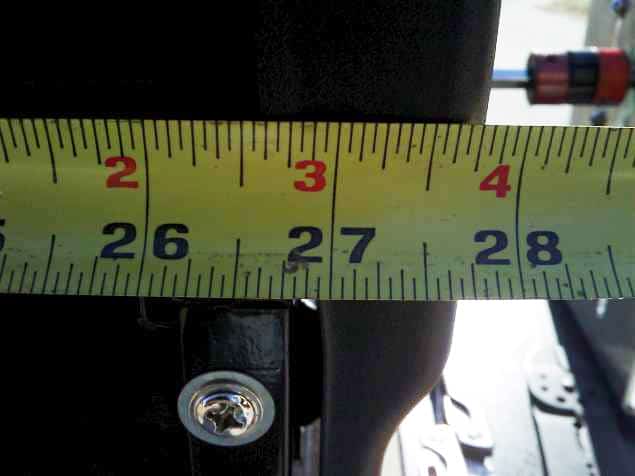
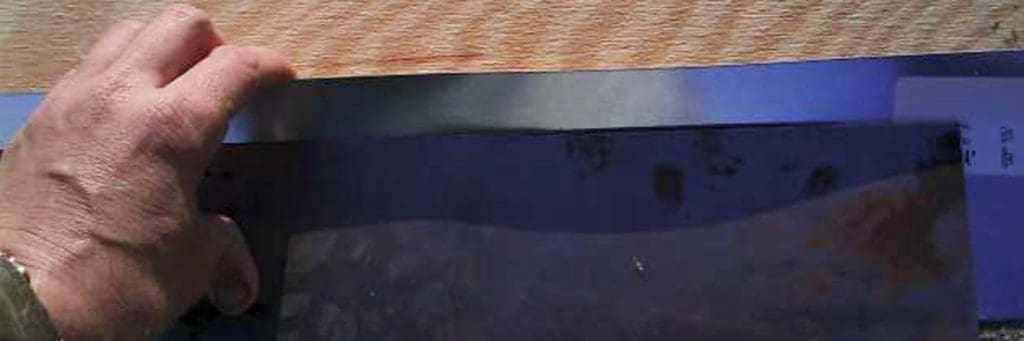
Measuring the width of the rear vent is easy enough to do. The width of the rear vent on our sample grill turns out to be 26.5 inches.
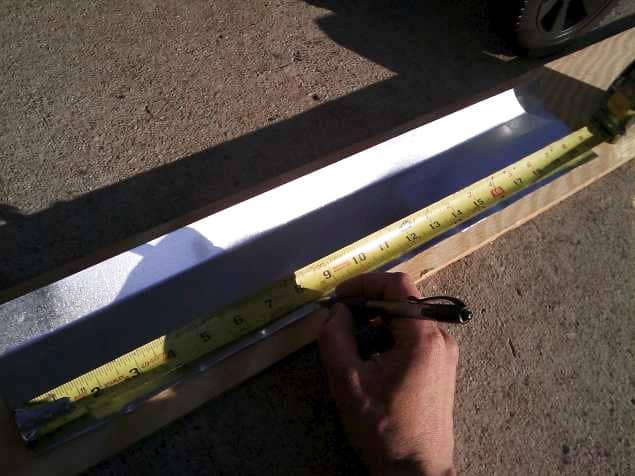
As a rough rule of thumb, I like to block off 80% or 90% of my rear vent. In this example, I’ll use 80%. 80% of 26.5 is 21.2 inches. In Figure 6, I’ll just round off to 21 inches (close enough). But, don’t cut just yet. Since all grills have different designs, you’ll need to think about how to apply this modification to your specific grill.
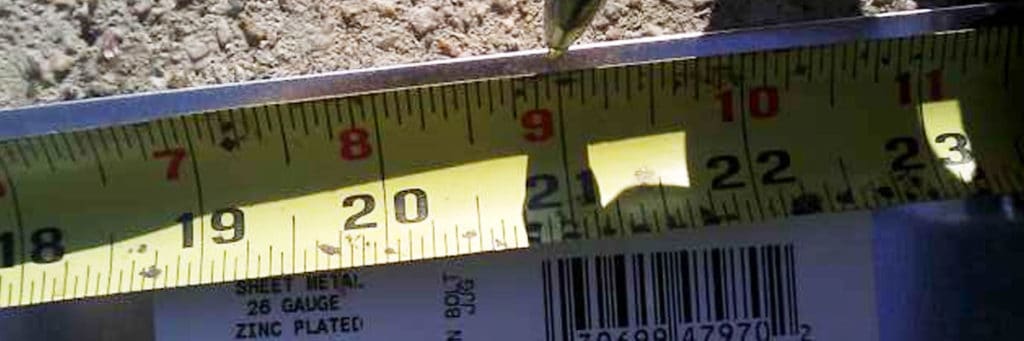
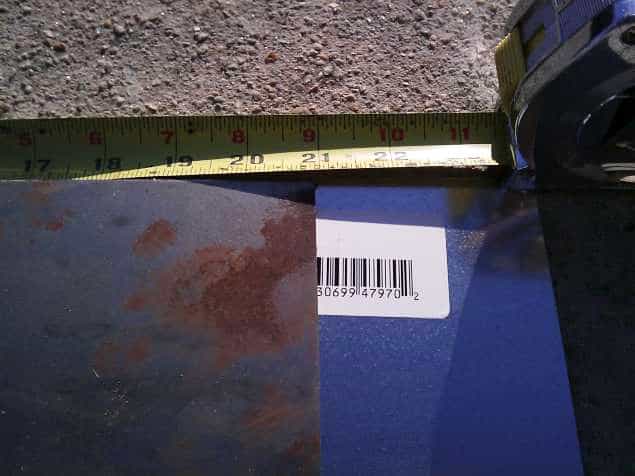
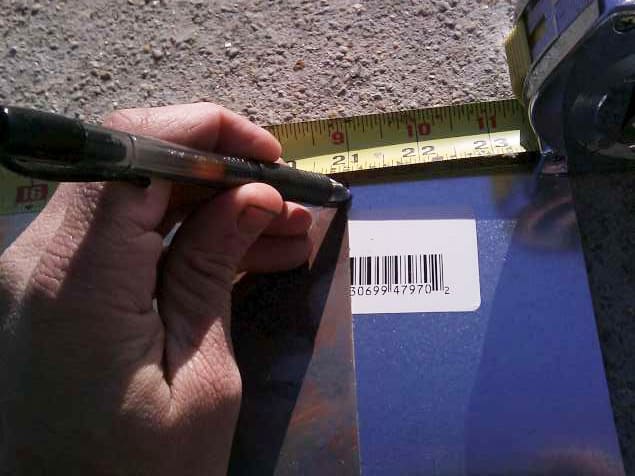
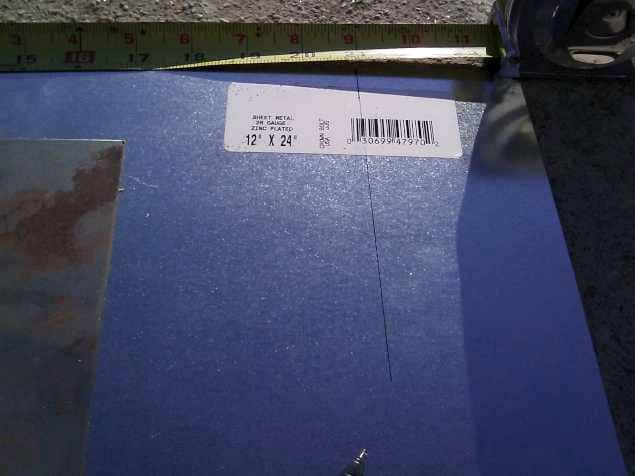
In this next step, we’re measuring and marking the sheet metal to cut. Find a straight edge and a marker, and mark off the metal to meet your needs. In our example, we are cutting to make a 21 inch by 4 inch piece of sheet metal. See figures 8, 9 and 10.
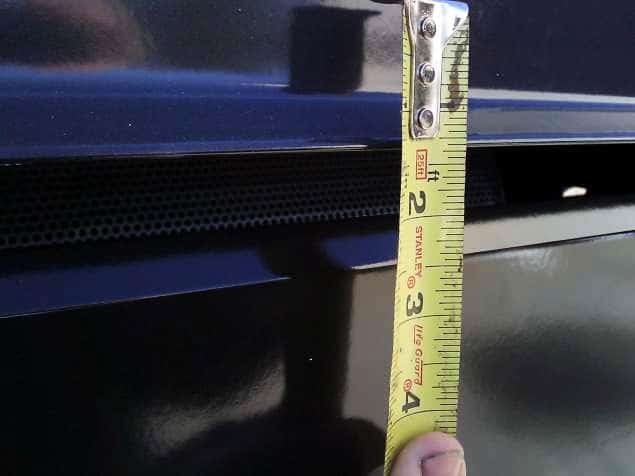
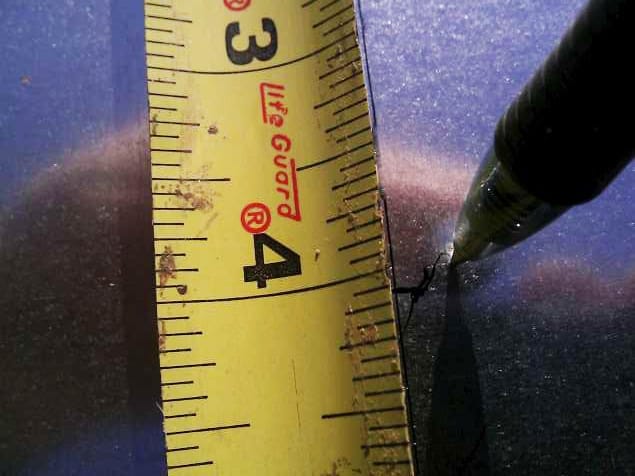
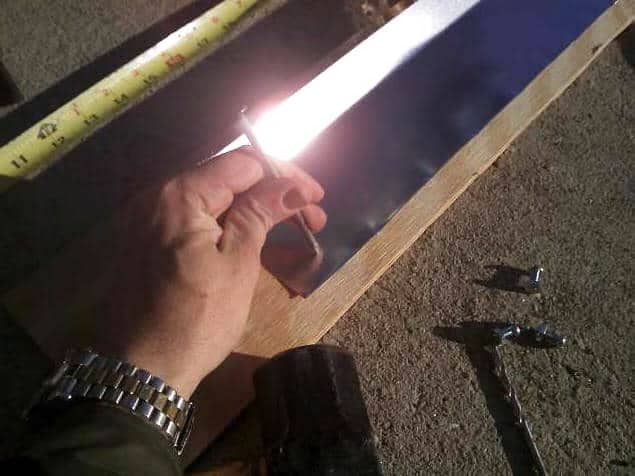
Now, we’ll just measure and mark the height to meet your needs. In our example, we are marking 4 inches high. See figures 11 and 12.
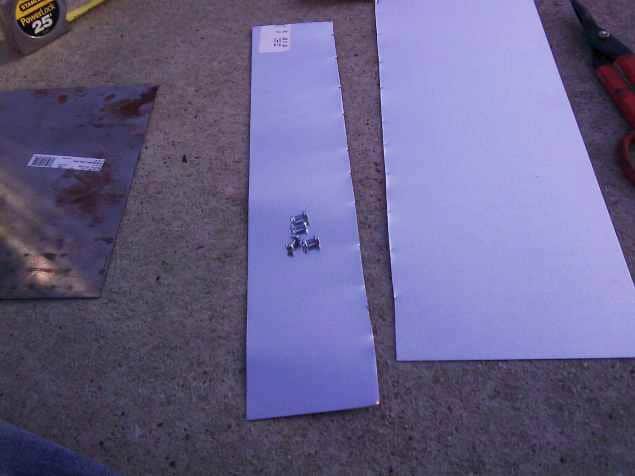
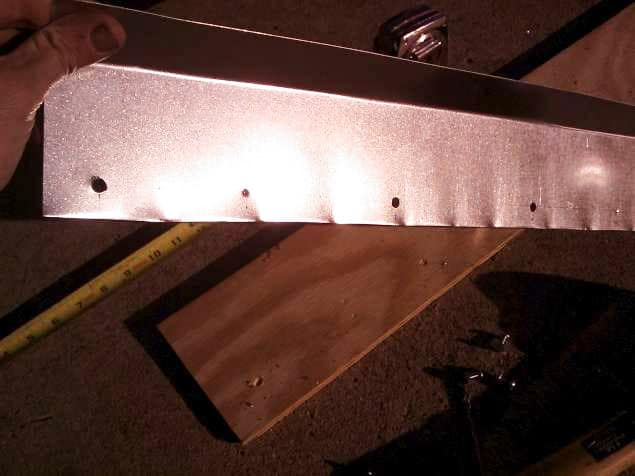
If you’re lucky, you’ll have some sheet metal cutters – this is the best tool for the job. But, since I don’t, I’ll make do with I have, in this case, some tin snips. You should be able to do this at home, without professional equipment. In Figures 13 and 14, you’ll see the cutting in progress and the finished 21 inch by 4 inch piece.
Cutting and bending the sheet metal is where you can get into trouble. Sheet Metal will cut you open in a flat second. Use gloves and be aware that it will get you. Be careful, don’t work aggressively with this stuff, you push or shove and slip, you’ll be getting stitches. Be firm, gentle, careful, plan your actions and movements and don’t swing or hammer wildly at this stuff, you slip and it gets you.
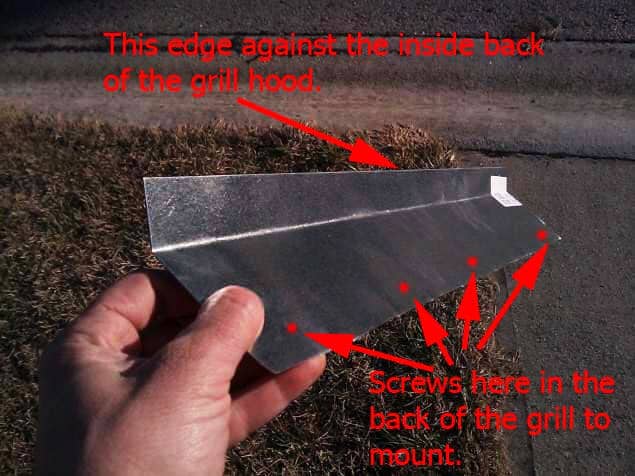
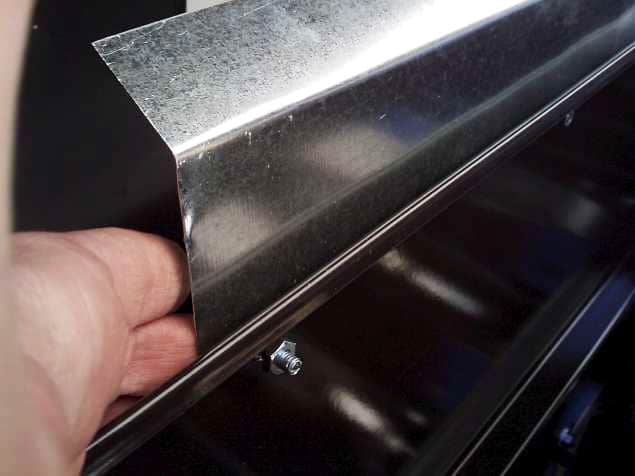
Here, we will create a bend in the sheet metal, so that the metal will press up against the grill hood, when it is closed. We will use a piece of wood in order to bend the metal cleanly. See Figure 15.
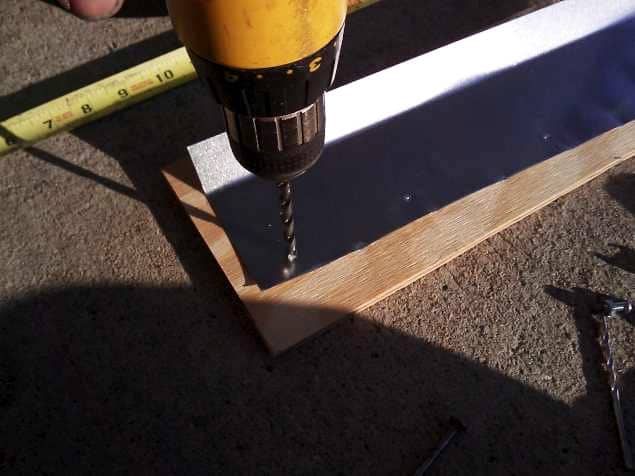
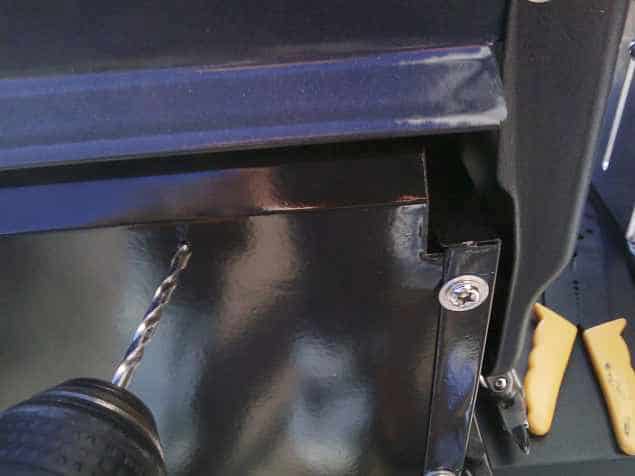
If you have a center punch, then you can use that to mark an indentations in the metal to hold the drill on point as it drills through the metal. If not, a hammer and nail will work just fine to mark the center point. Use either your center punch or your nail to mark each of the 4 screw holes. Then putting the sheet metal on top of some scrap wood, drill through each of the marked points. See Figures 18 and 19.
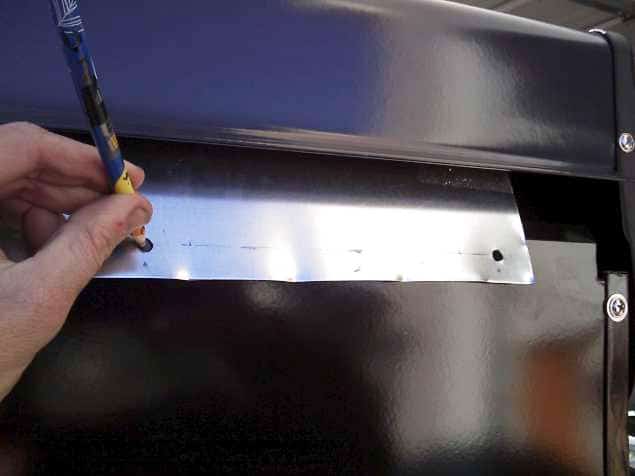
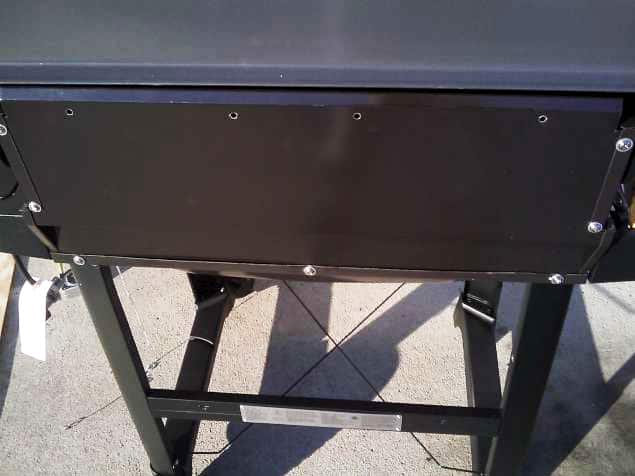
After drilling the screw holes into the sheet metal, we will need to drill screw holes in the back of the drill to match up with the sheet metal. So, hold up the sheet metal shield and visually center it on the back of the grill, where you plan on placing it. You will see we will now have a relatively small area for heat to escape. Use a pencil to mark the spots for the drill holes. See Figures 20 and 21.
Now, we will use a center punch or hammer and nail, as before, but this time to mark indentations on the grill. Then, use the drill to punch through the back of the grill and create screw holes.
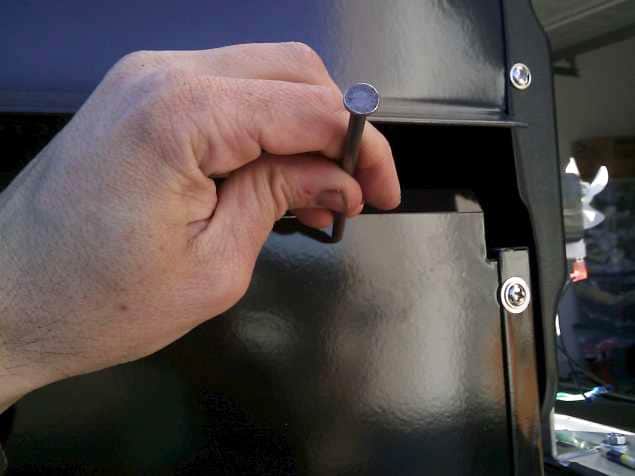
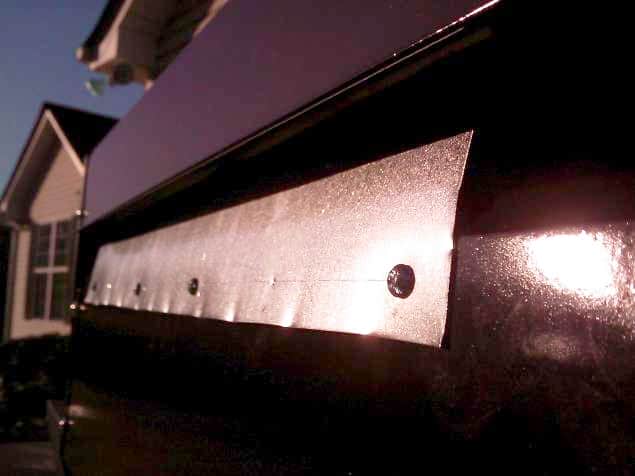
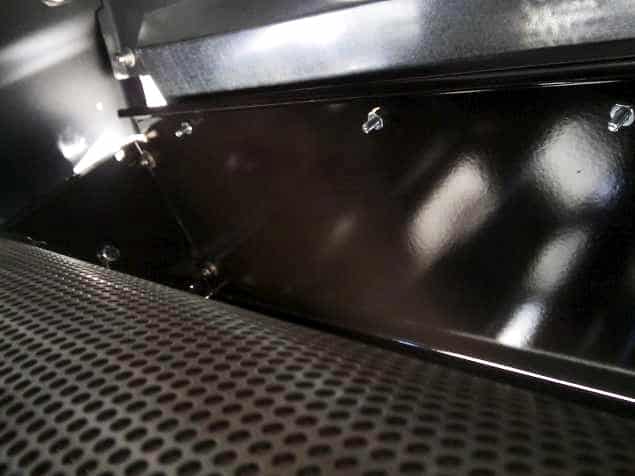
Finally, we should be ready to put the pieces together. Open the grill hood and place the shield with the bend facing towards the outside of the grill. Make sure that the grill hood will close with the shield in position and that the shield will make contact with the hood, so that a seal is formed. This contact seal is important, as it is what will limit the heat escaping from the grill. Finally, put in the screws with the nuts placed on the inside of the grill. See Figures 26, 27, 28 and 29.
Finish putting in the screws and tighten everything down. Figures 28 and 29 show the finished work. You can clean up some of these bends with vise grips on the bend, and a file if you choose.
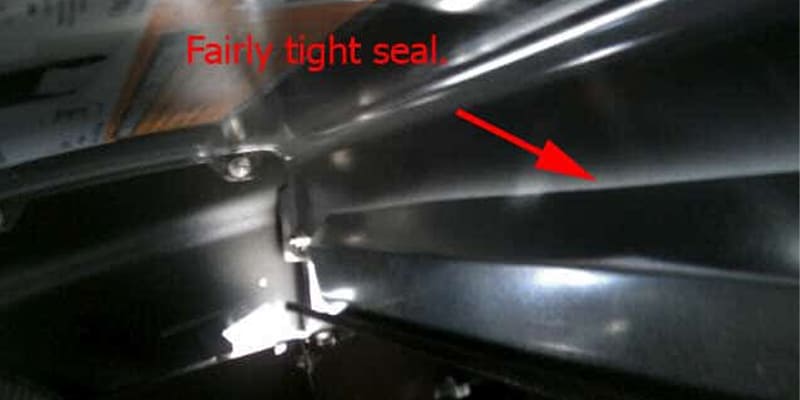
Now, you should have a fairly tight seal between the sheet metal heat shield and your grill hood when the grill is fully closed. The last image in Figure 30 shows the inside view, (thought the hood is not completely lowered in order to take the picture).
The vents in the grill are designed to keep the grill at a safe operating temperature. By installing this heat shield and restricting the vent, it is possible to overheat the entire grill by turning the burners up too high for an extended period of time. If you choose to install this heat shield to restrict heat flow, you will need to monitor the temperature of your grill as you are using it. The purpose of this modification is to reduce the amount of fuel that is required to maintain a given temperature on your grill. Therefore, you should be able to roast your coffee with the burners at a much lower setting. Do not turn your burners on high and go and do something else. We don’t want any fires.